There are many ways to utilize Product Widgets. Add to your homepage, blog posts, or share in your newsletter!
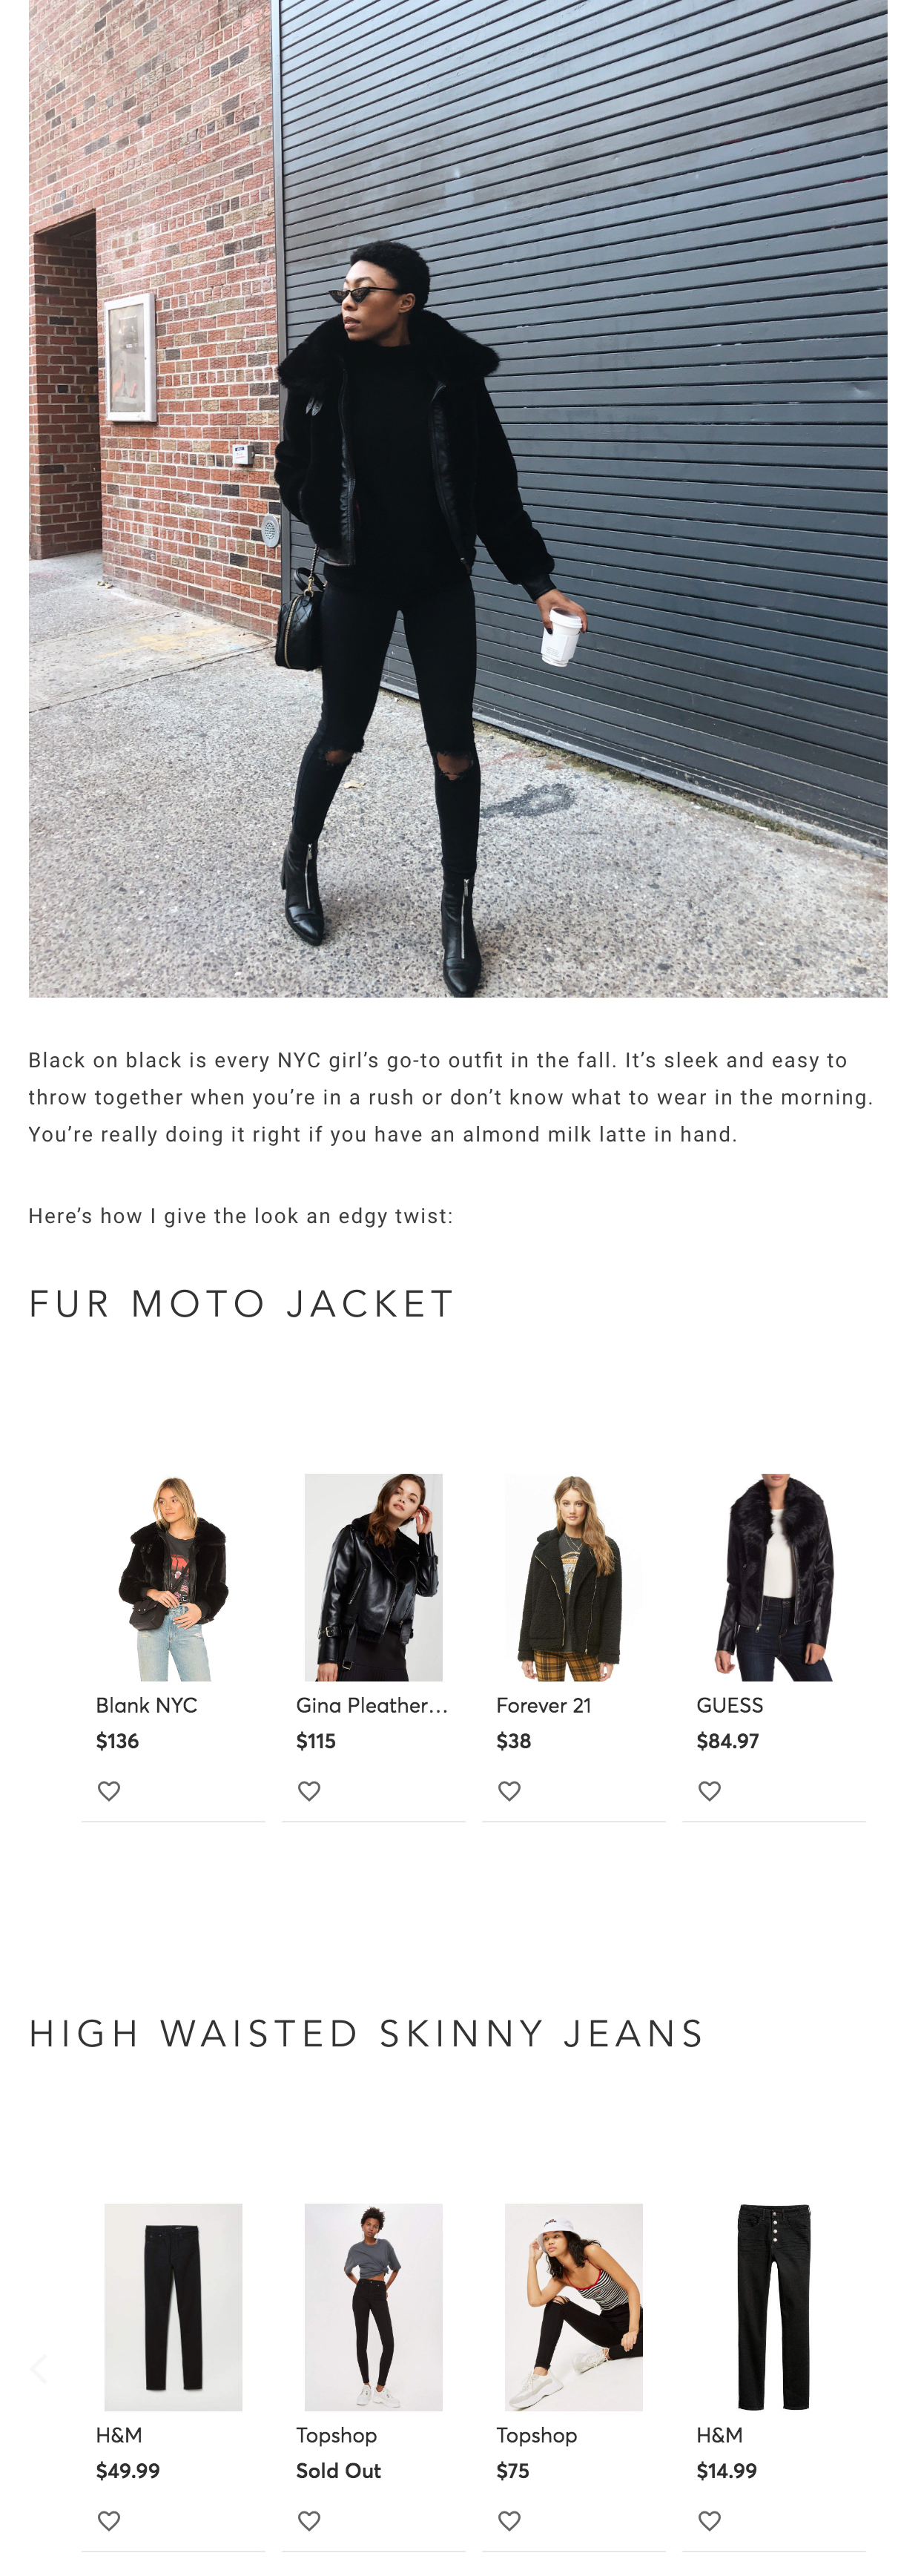
Here's an example of blog post widgets:
Image via In a Fashion Mood
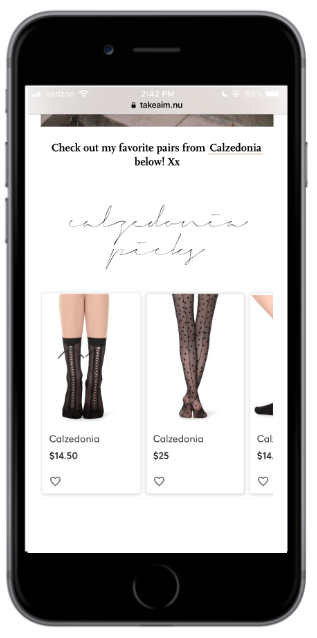
Here's an example of a widget on mobile web:
Note that mobile widgets offers a different experience for your audience!

Image via Take Aim
How-to Guide
1. Start by adding products
- Add items using the search bar and filters or items from your lists
- You can toggle between these options at any time!
- Use filters to narrow your search!
- Use the right-hand side drop-down to sort by different variables
- Hover over the item to add it to your widget
- You can also save products to lists along the way. This allows you to store items for other widgets or Looks as you go!

- Use the left-hand product details to remove an item. Simply hover over it and click on the x
- When you have all your product selected, click Next

- Add relevant information to the product cells. Name your widget for internal organization
- Choose what information to display
- Find out more about caption creation here
- Favorites allow your followers to save items to shop now or later and be notified of any price drops. Learn more about Favorites here!

- Preview your widget across devices!
- Pro tip: Know the container size that you’re embedding your widgets into and enter it into the preview field!
- Note that this is to preview the widget only. To make any edits, utilize the pixel or percentage editor in the lower-left corner. Learn more here!

- Adjust Cell Width and rows. Select the rows and columns & Product Cell Width
- Learn more about creating the widget rows and columns you want here

- Click Reorder & Change Images to drag and drop to rearrange the products
- Hover over a product to see if alternate images are available. Click Change Image > select the image > click Save
- Click update when you're ready for the next step


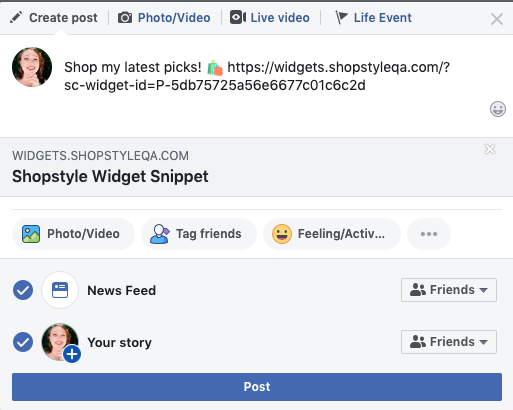
- Embed the widget on your blog and/or link to it directly! You can share this link to your social posts

- Click Copy Embed Code to select the code in its entirety. To embed it, paste all the code into the HTML slot of your blog post

- To share a link that directs straight to your Product Widget (can be shared on social platforms)
- View more here!

Enjoy the finished product!

Note: Any edits made to your widget will take 10-15 minutes to update, but no need to re-embed your widget in the meantime. It will auto-update!
Interested in the Get a Sale Alert option? Find out more about Favorites on Product Widgets here!
Quick facts:
- Widgets automatically update with your edits! If you make any edits, you will not need to re-embed the code. Refresh the page and you'll see the updates appear.
- To bookmark widgets that you use often, click the star next to the widget name. You’ll see a list of Starred widgets on the top of your Saved Widgets list.
For international creators:
- If you wish to access a product feed that will display your items in widgets as EUR please select the option for UK retailers with EUR pricing
- If you wish to display your items in GBP, please select UK with GBP pricing
- To do this, click Retailer Country in your Account Settings and select the option in the product catalog drop-down
- Find out more here


