Our widgets don't have "iframes" (containers), allowing you more control of your widgets. It's important to know the container size of your widget to have this control!
In this article, we'll go over:
- How to find your blog's custom container size
- Different widgets you may want to create, including how to create 1, 2, & 4 column widgets
- This step will utilize your custom container size
Find your blog's container size
Pro tip: Know the container size that you’re embedding your widgets into and enter it into the preview field!
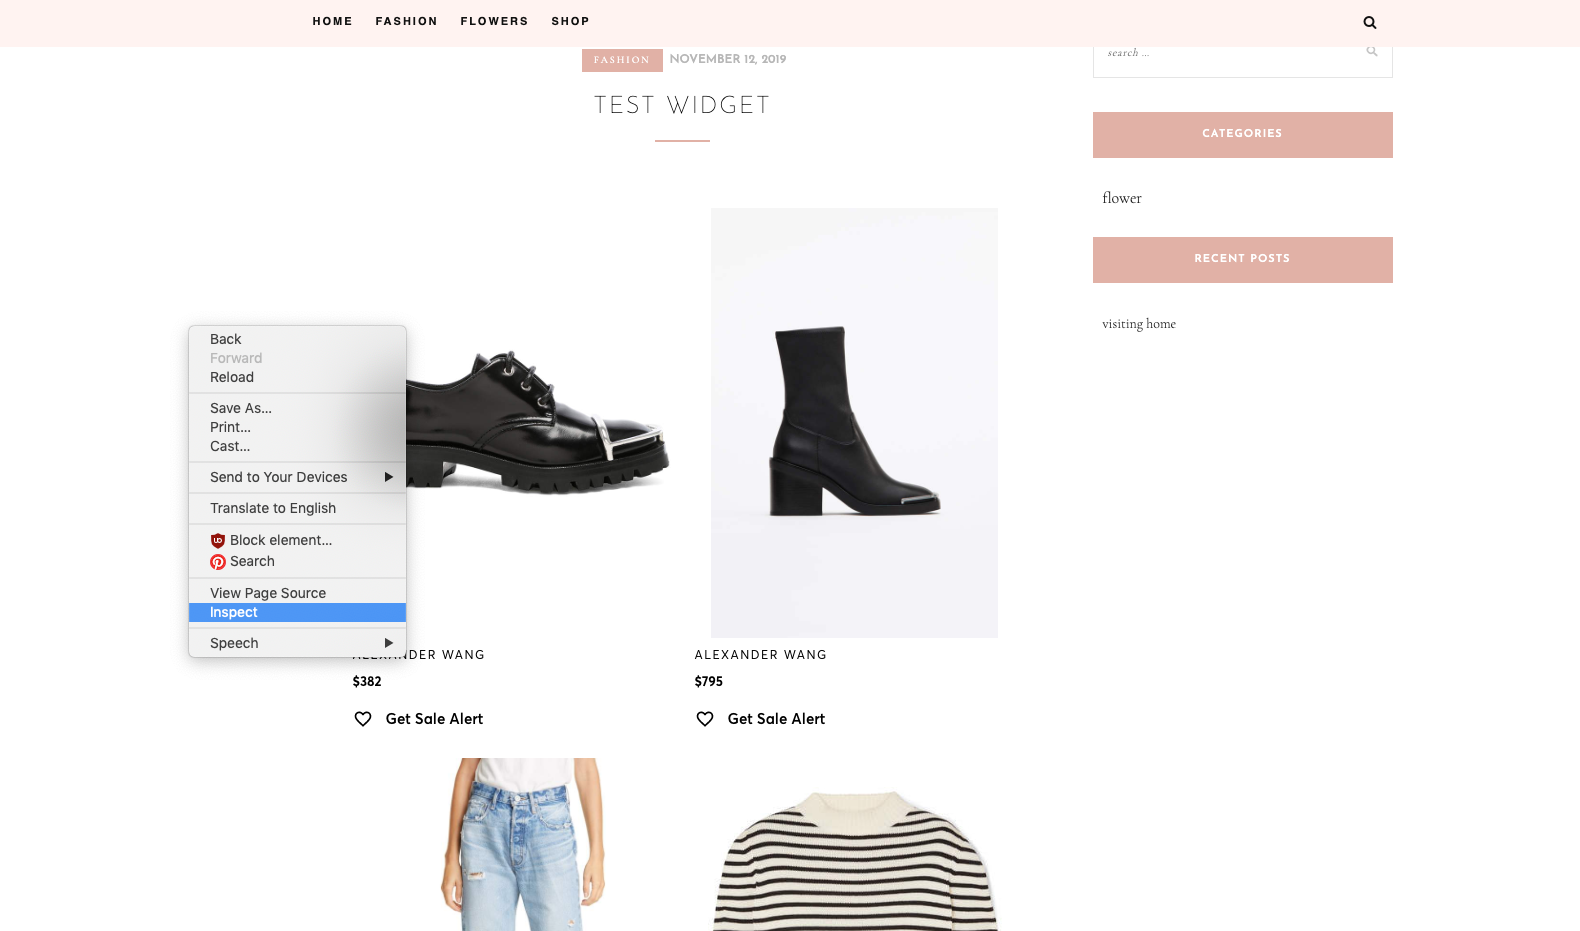
- In Chrome, right-click on your blog page
- Select Inspect

- Select the "Select an Element" cursor

- Hover over the element of your blog, you'll see something similar to 724 x 33 appear

- Use that first number for your custom container width

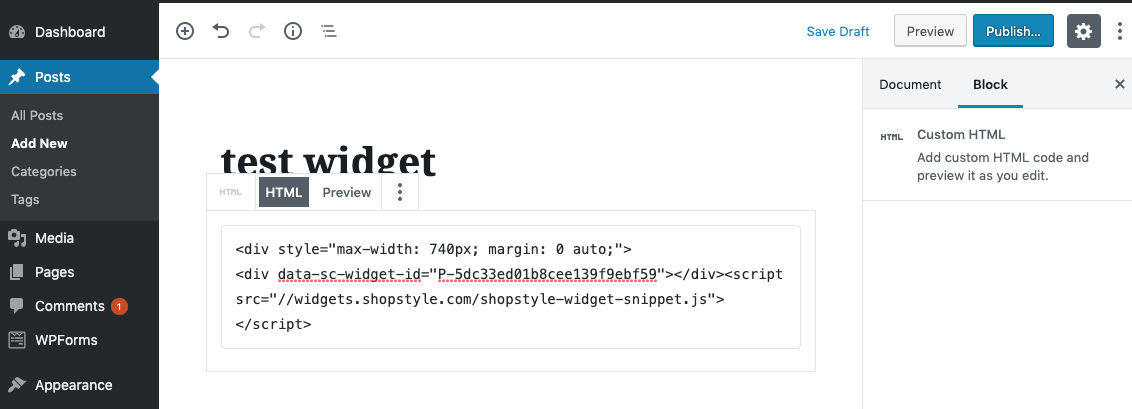
Pro tip: If you want to restrict the size of the widget, simply add this code (and replace the px with the desired width) in addition to the current embed code:
<div style="max-width: 250px; margin: 0 auto;">
Different Scenarios
Scenario 1: How to make 4 column Widget
4 column widget without side carets
- be sure to have at least 4 products selected
- Rows: Auto
- Cell Width: 25%
4 column widget with side carets
- Rows: 1
- Cell Width: 25%
Test across different devices, enter your blog's custom container width if needed
Embed on blog or share link!
Scenario 2: How to make a 1 column widget
- Cell Width: the width of your blog’s container
- Rows: Auto
Pro Tip: Need to center your widget? Add this code to do so! (250px is just an example--you should have this be your container's width)
<div style="max-width: 250px; margin: 0 auto;">
Here's where to add the code:

Scenario 3: How to make a 2 column widget
2 column widget with side carets (horizontal scroll
- Cell Width: 180px
- Rows: 1
2 column widget without side carets (all products displayed at once)
- Cell Width: 180px
- Rows: Auto